Over time, your list of connectors may become too large to handle. Here’s how to cut it down to size by deleting some of your contacts.
The ability to store contact information in iPhone or other devices is a feature that is often used by many people. Collecting phone numbers, email addresses, and other contact information about people and businesses you may need to talk to in the future is part of everyday life.
Nevertheless, there are many reasons to delete those same details from your contact list. For example, you may not want contact information available for an ex-partner or someone you disagree with.
You may also have old and outdated listings that are no longer useful, as a representative of a company that has since moved on. It is also possible that you have set up the same contact twice, and need to remove one from view.
Whatever the reason, clearing out of your acquaintance list can be beneficial. Here’s what you need to know about the process.
How does Apple store user contacts?
While earlier smartphones would store contacts on a SIM card, the iPhone won’t work that way. Instead contacts are stored on the iPhone’s internal storage, which can be faster to explore and offers far more options for storing data than the SIM in general would.
The iPhone has an option to import calls from the SIM, which is useful if you are reusing an old SIM card. If your contacts are stored on other services, such as Google’s online services such as Gmail, these can be combined with your main contact list.
If you’re logged into iCloud on your devices, you’ll also have the option to sync your contacts across all of your hardware. Naturally, any changes you make to the contact list on one device will affect everything else.
Deleting individual connections
If you want to delete one or a few links that you no longer need, you can do so for each contact individually. If you have the ability to remove iCloud sync, one device will delete a message if it deletes others.
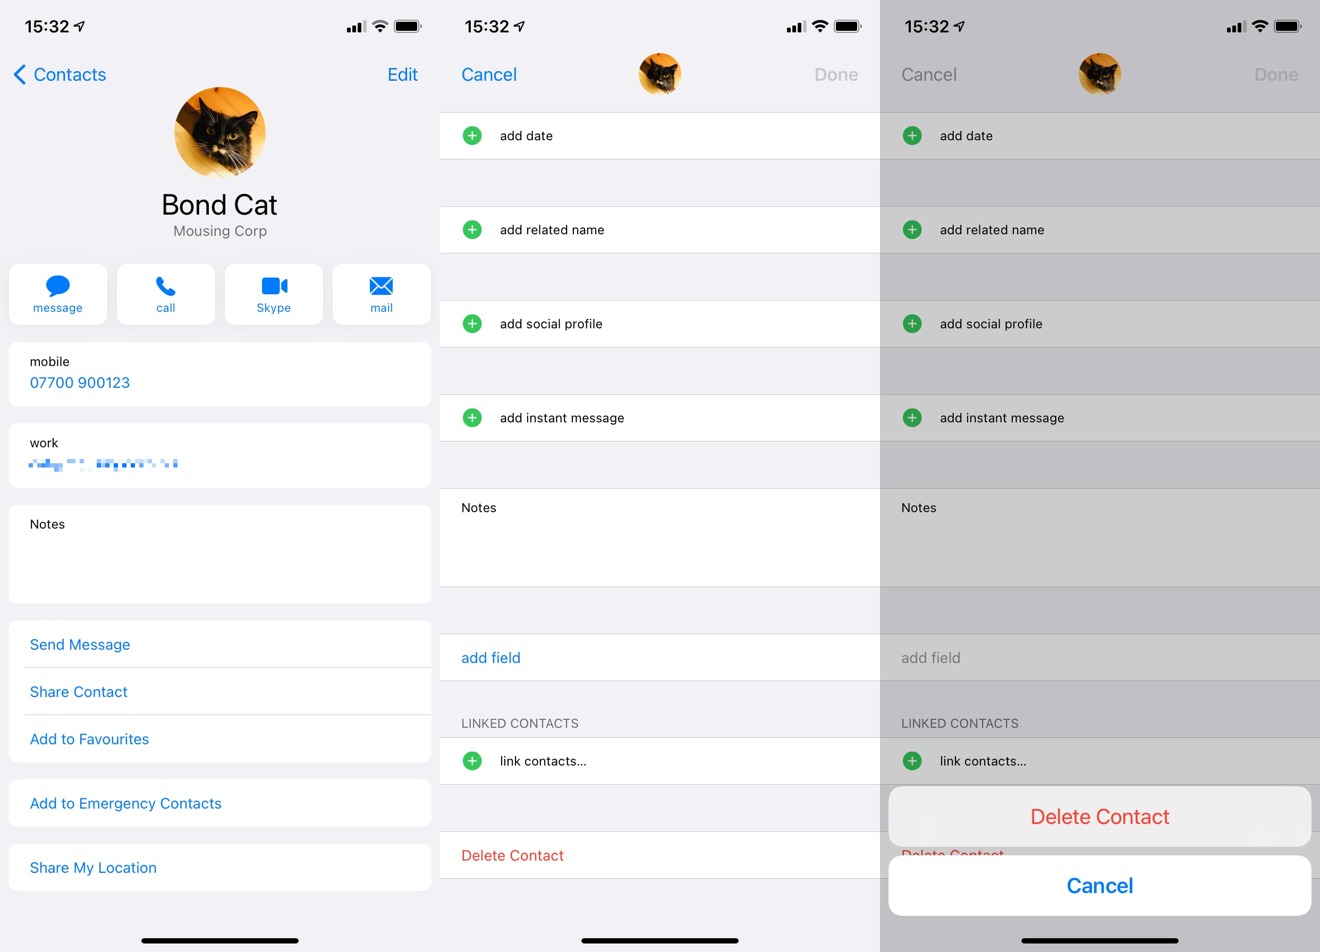
How to delete notifications on your iPhone
- Open Please contact. Scroll and select the contact you want to delete.
- Tap on it Edit.
- Scroll to the bottom of the recording. Tap on it Delete contact.
- Tap on it Delete contact to confirm their removal.
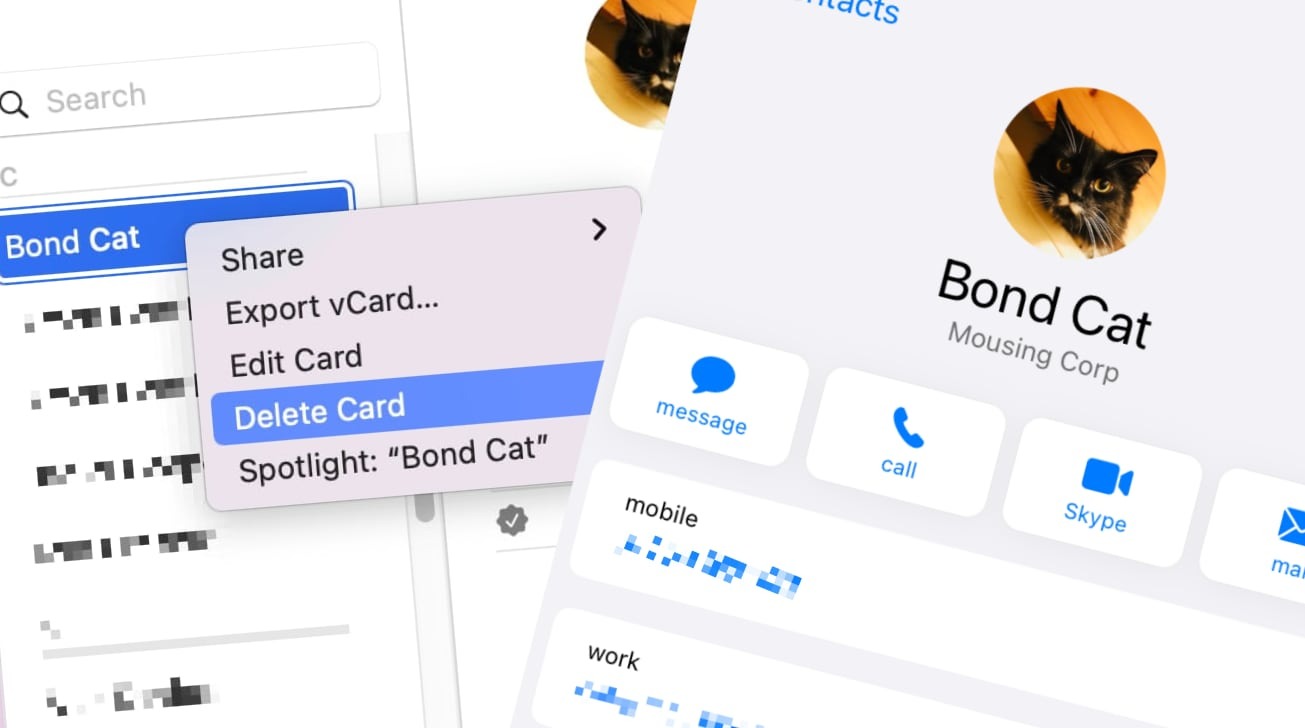
How to delete information on your Mac
- Open Please contact. Scroll and select the contact you want to delete.
- Right click the contact name and select Delete your card. Click Delete to confirm.
- Alternatively, select the contact and click on the Remove the key on the keyboard. Click Delete to confirm.
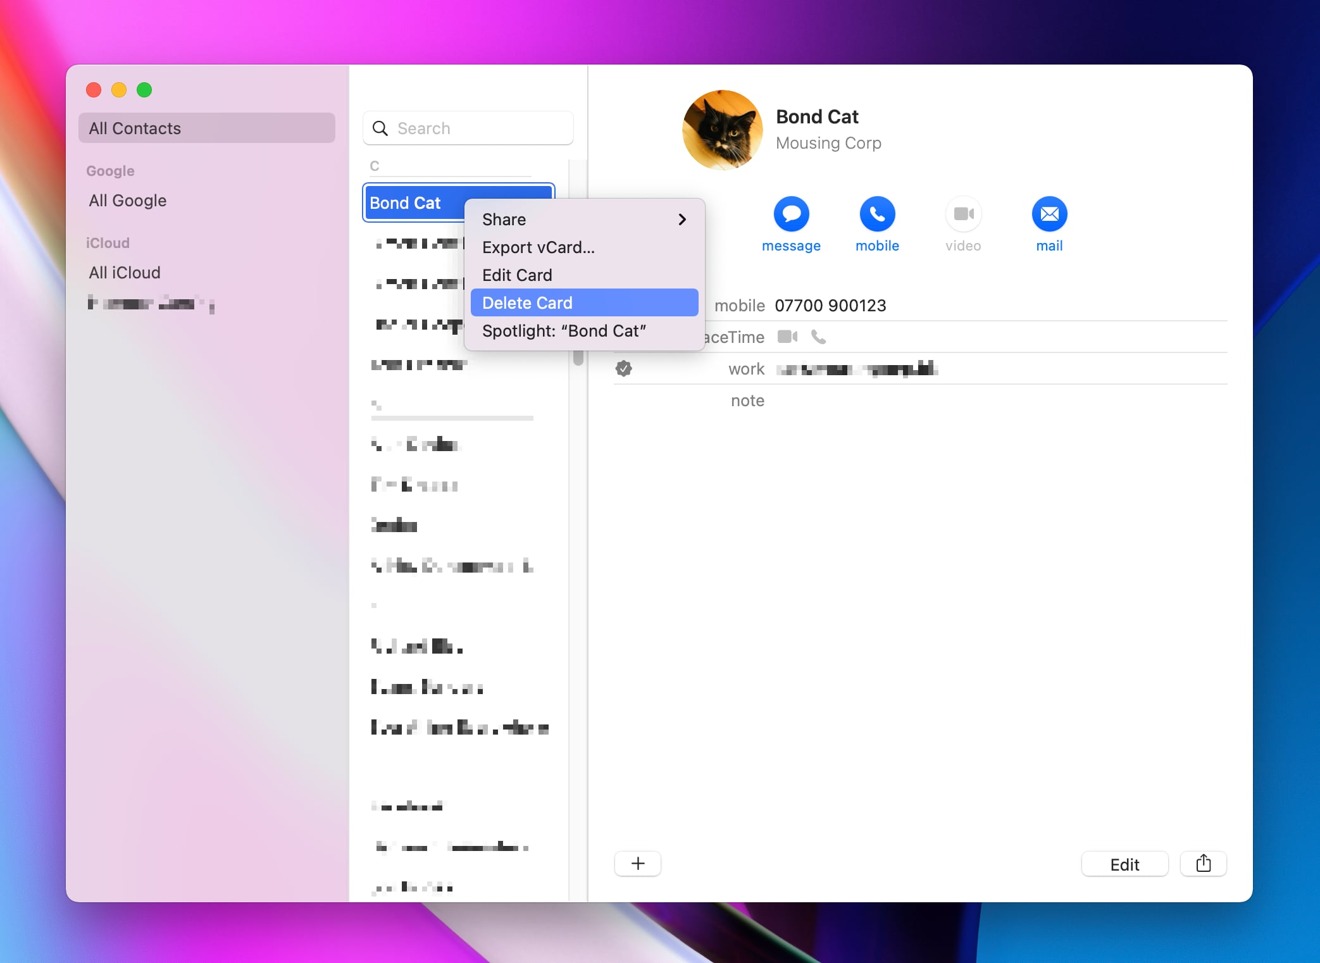
Links in macOS refer to lists as charts.
If you have organized contacts in groups, you can also delete the group itself through the Mac Contacts app in the same way. If the group is used as part of Smart Group, you must first edit the Smart Group to remove or delete associated contacts in the Smart Group, before you can delete the group.
How to delete contacts from iCloud
- Open iCloud.com in a web browser. sign in to your Apple ID.
- Open Please contact.
- Select the contact delete.
- Click Edit then Delete contact, followed by Delete.
- Alternatively, select the contact, click on the Remove the key on your keyboard, and then click Delete.
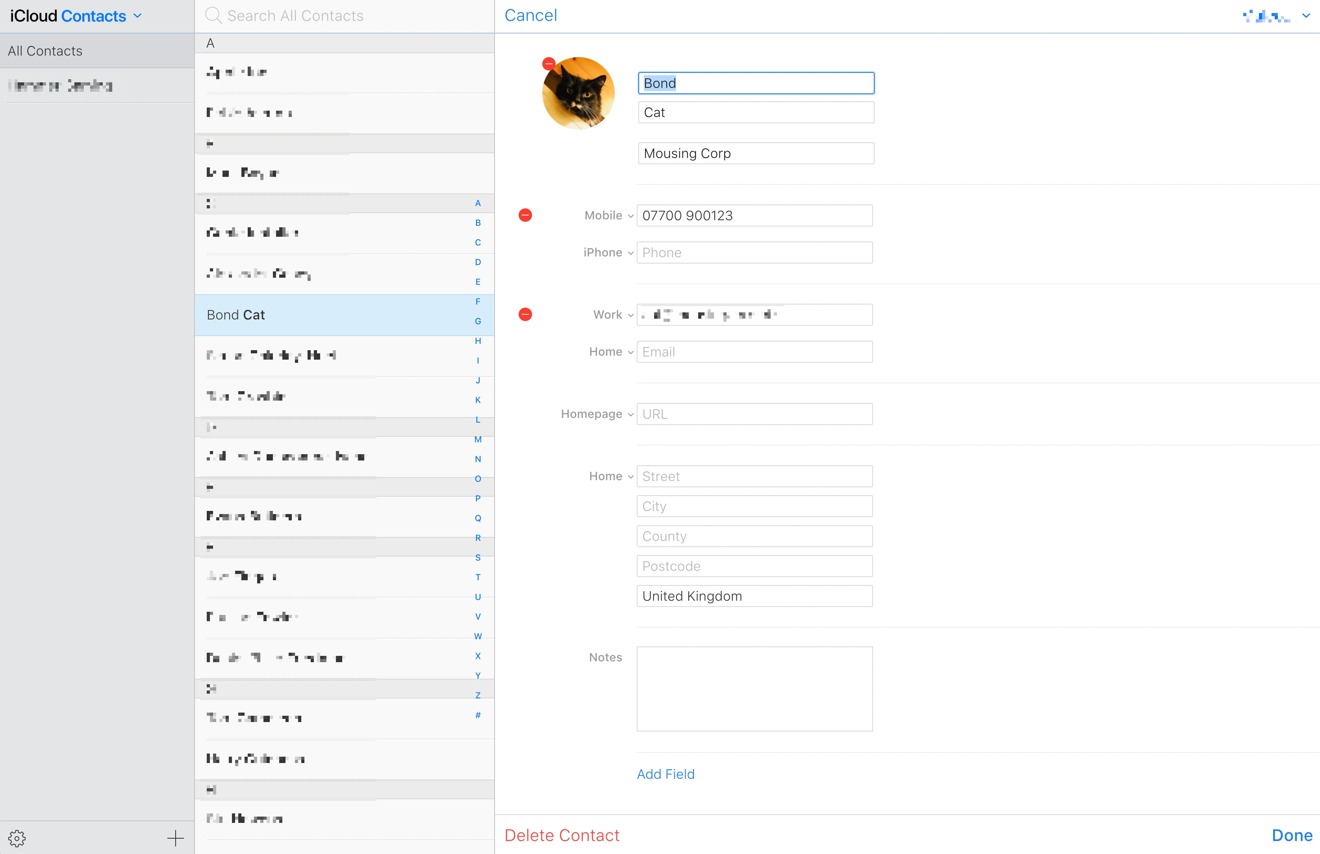
You can even delete your contacts through the iCloud website.
Deleting all notifications
The nuclear option is to completely remove all device information. This may be useful for short contact lists where all contacts have to be removed, but it may be best to go through longer lists gradually as the collection may be there are some you want to keep.
Issues are also complicated by the fact that many of the connections will be saved to cloud storage services, including iCloud, Google, Yahoo, and others. For non-Apple contact lists, you will not be able to delete them automatically from the device unless you interact with the services directly.
You could certainly remove access to all of them from the devices, and with iCloud, you will be given the option to remove them from the device completely.
Remember, by using iCloud and other third-party cloud storage services, you may not have deleted all copies of your contacts, so it’s best to scan through multiple -engine.
It is also possible to retrieve notifications stored on all cloud services, just by re-enabling them.
How to delete all iCloud contacts on your iPhone
- Open Circumstances.
- Tap on it Your Name, Apple ID, iCloud, Media & Purchases
- Tap on it iCloud.
- Turn the toggle on Please contact off.
- When asked what you would like to do with previous iCloud contacts on your iPhone, tap Delete from my iPhone.
How to block third party connections on iPhone
- Open Circumstances.
- Tap on it Please contact.
- Tap on it Accounts.
- Tap on the account you want to disable connector access.
- Tap on the toggle next to it Please contact so it is off.
- When asked if you want to continue, tap on it Delete from my iPhone.
You can disable third-party contact lists within macOS communication options.
How to delete all iCloud contacts on your Mac
- Open Please contact.
- Select the first contact, hold down Shift, scroll to the bottom of the list, and select the final communication to put pressure on them all.
- You can also mark each contact with click on one, then in the select menu Edit then Select All.
- Right click and select Delete your cards. Click Delete to confirm.
- Or after you have selected all the notifications, click on the Remove the key on the keyboard, then click Delete to confirm.
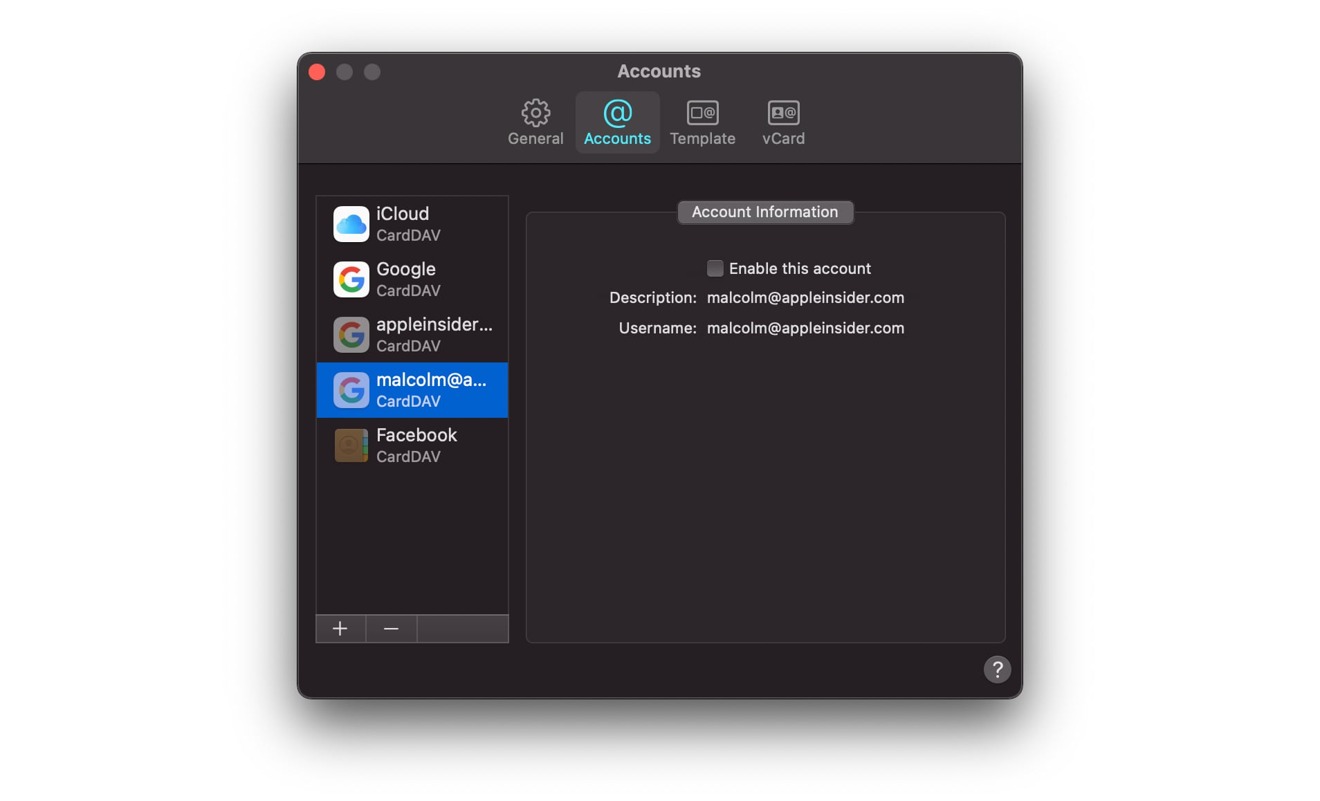
How to block third-party connections on a Mac
- Open Please contact
- In the menu, select Please contact then Options.
- In the new window, select the Accounts tab.
- Click each man of the third-party communication providers and uncheck the box indicated Enable this account.